Putting a model kit together is not the easiest thing in the world, but it is the whole point of the hobby! It is very satisfying to see the small pieces come together to resemble the picture on the box. Here are a few hints and tips that will help you along the way.
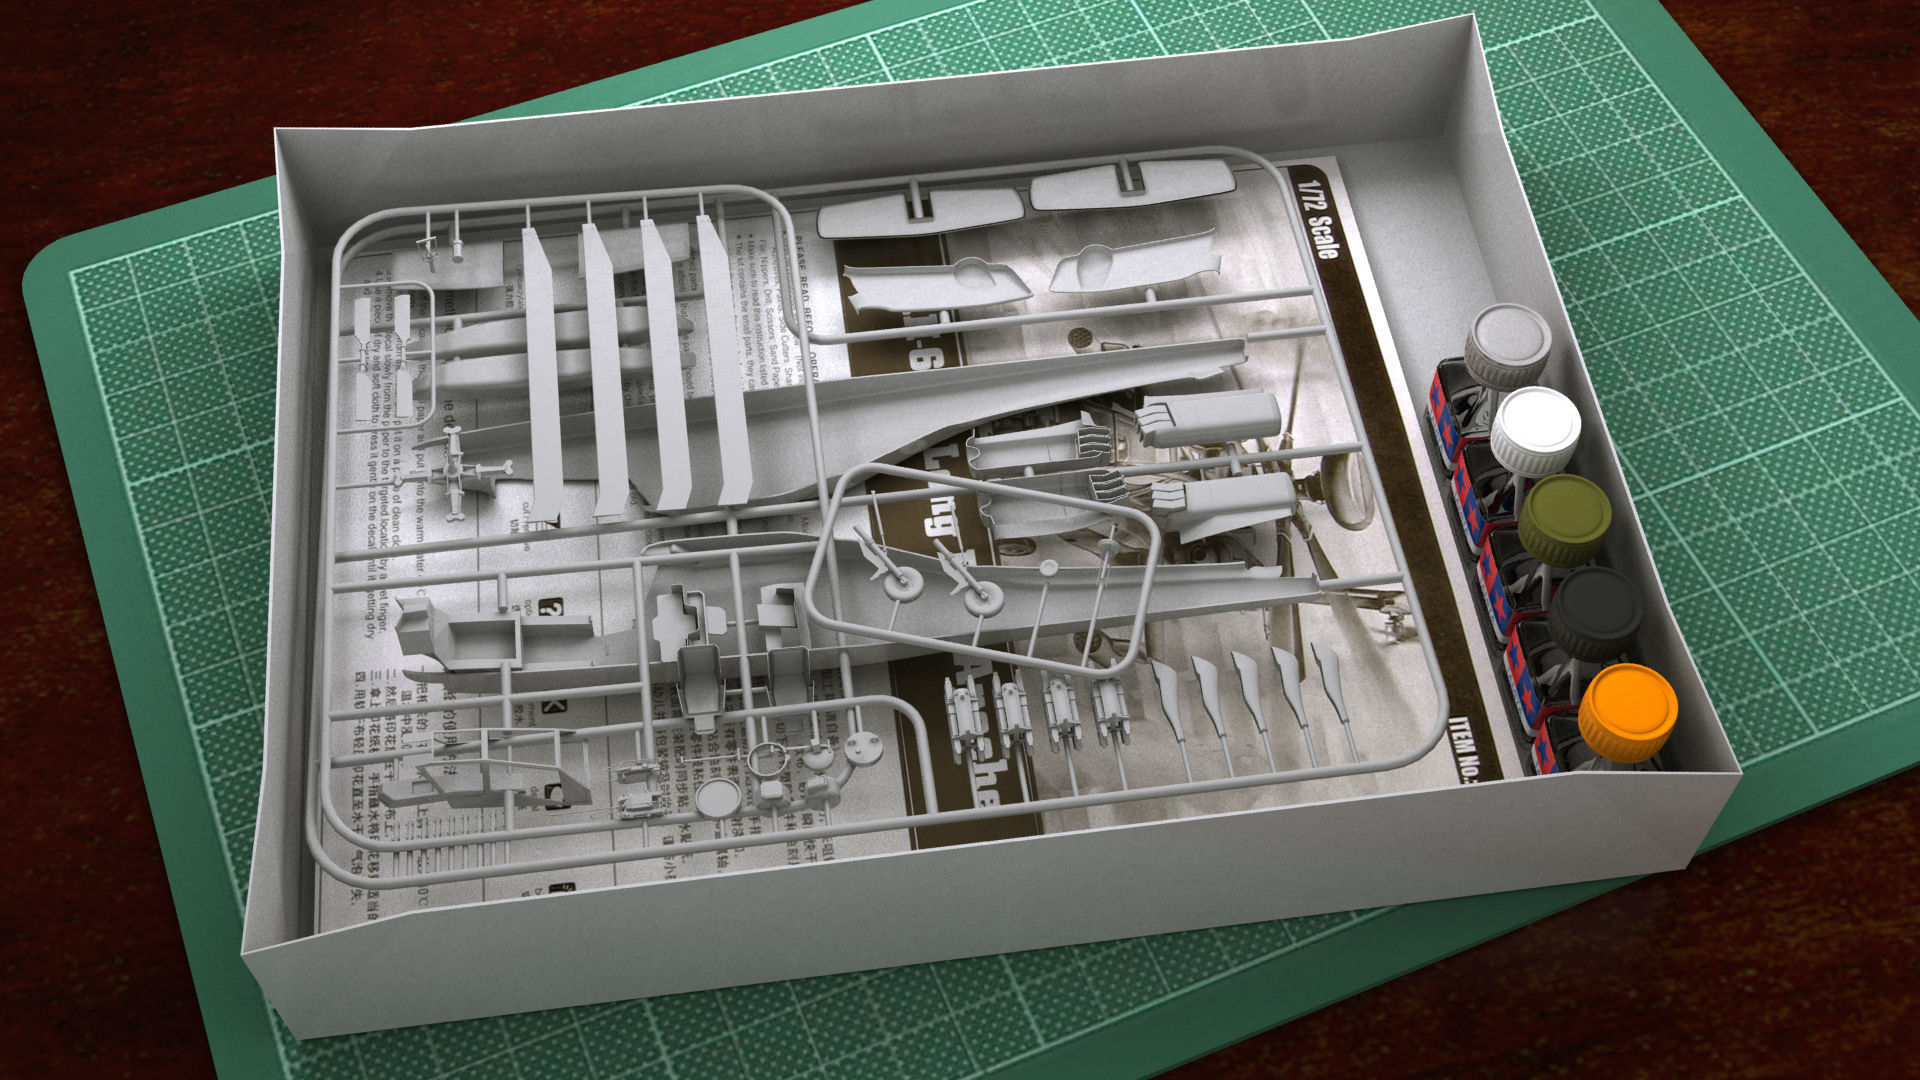
The first step is to cut the different parts from the sprue. The sprue is the plastic frame that each piece is attached to. Some kits will refer to the sprue as a tree. If you don’t have a side cutter or a handy modelling knife then you can always cut with a nail clipper instead. However, we don’t recommend that you cut all the parts off at once – there is too much scope for you to lose small pieces if you cut them off before you need them. Some kits have small pieces that look similar and it would be too easy to use the wrong part.

Glue parts together
When you are using the glue to stick the parts together only use a small amount and just place it on one section and then press the parts together. You then have to wait until the glue or cement has dried and hardened completely. If you are sticking metal-plated surfaces together you will need to scrape some of the platings away as the cement glue is not designed to work on plating. It can also be useful to have tweezers on hand if you are trying to grip very small parts together. You avoid getting the glue on your fingers and therefore you avoid marking the pieces unnecessarily.
Other tips
Using a primer before you paint is a good way to get a fine finish when you paint. Masking tape is also a good way to avoid getting paint on sections that aren’t ready to be painted yet.